May 20, 2020
How to Build a Cheeseboard
We’re pleased to welcome our newest Cool Food Panelist, Rachel Paul, Ph.D, RD of College Nutritionist, as she shares how you can build a fancy yet affordable cheeseboard! 🙂
~
Whether you’re at home & want a fancy night in, or are planning for a get-together in the future, making a cheese board can be such a fun (and rewarding!) activity.
Here’s the good news: you CANNOT go wrong. I’ll give you some guidelines – but absolutely feel free to go rogue and make it your own.
And – cheese boards can absolutely be budget friendly. I see some cheese boards and food boards online that must cost hundreds of dollars, but that is NOT necessary, promise. I’ll show you how!
Step 1: Pick a Cheese board
I’m actually using a “pizza platter” here, but here are some other ideas:
-
Wooden cutting board
-
Large plate from your cupboard
-
Any platter – flatter options work best
-
Baking sheets (the ones you use in your oven!)
-
Cheese board-specific platters like marble or slate ones
You of course want to take into account the number of people you’re serving. So, you may not want to use a baking sheet if your cheese board is only for you & your bestie.
Step 2: Add Cheese and Small Serving Bowls
The cheese is the most important piece here… since we’re making a cheese board after all!
Pick different types of cheeses in terms of texture and flavor. This way, you’ll please different people’s taste palettes. Just like people prefer chocolate vs. vanilla, everyone likes varied types of cheese.
Talking about texture, cheese can be classified as soft (like goat), semi-soft (like Fontina), semi-hard (like Gruyère), hard (like cheddar), and crumbly (like blue cheese).
Flavor-wise, cheese comes in different strengths (think mild to stinky).
Generally, choose a variety of colors of cheese – this will typically give your cheese board a more aesthetically pleasing vibe. Although honestly, I think an all-white cheese board (with different shapes and textures of course!) could be nice.
When you’re preparing your harder cheeses, cut them into different shapes. So, for example, some can be cut into cubes, and cut another cheese type into thin rectangles, and another in pie-shaped slices. If your entire cheese board was cubes of cheese, it wouldn’t look as fun!
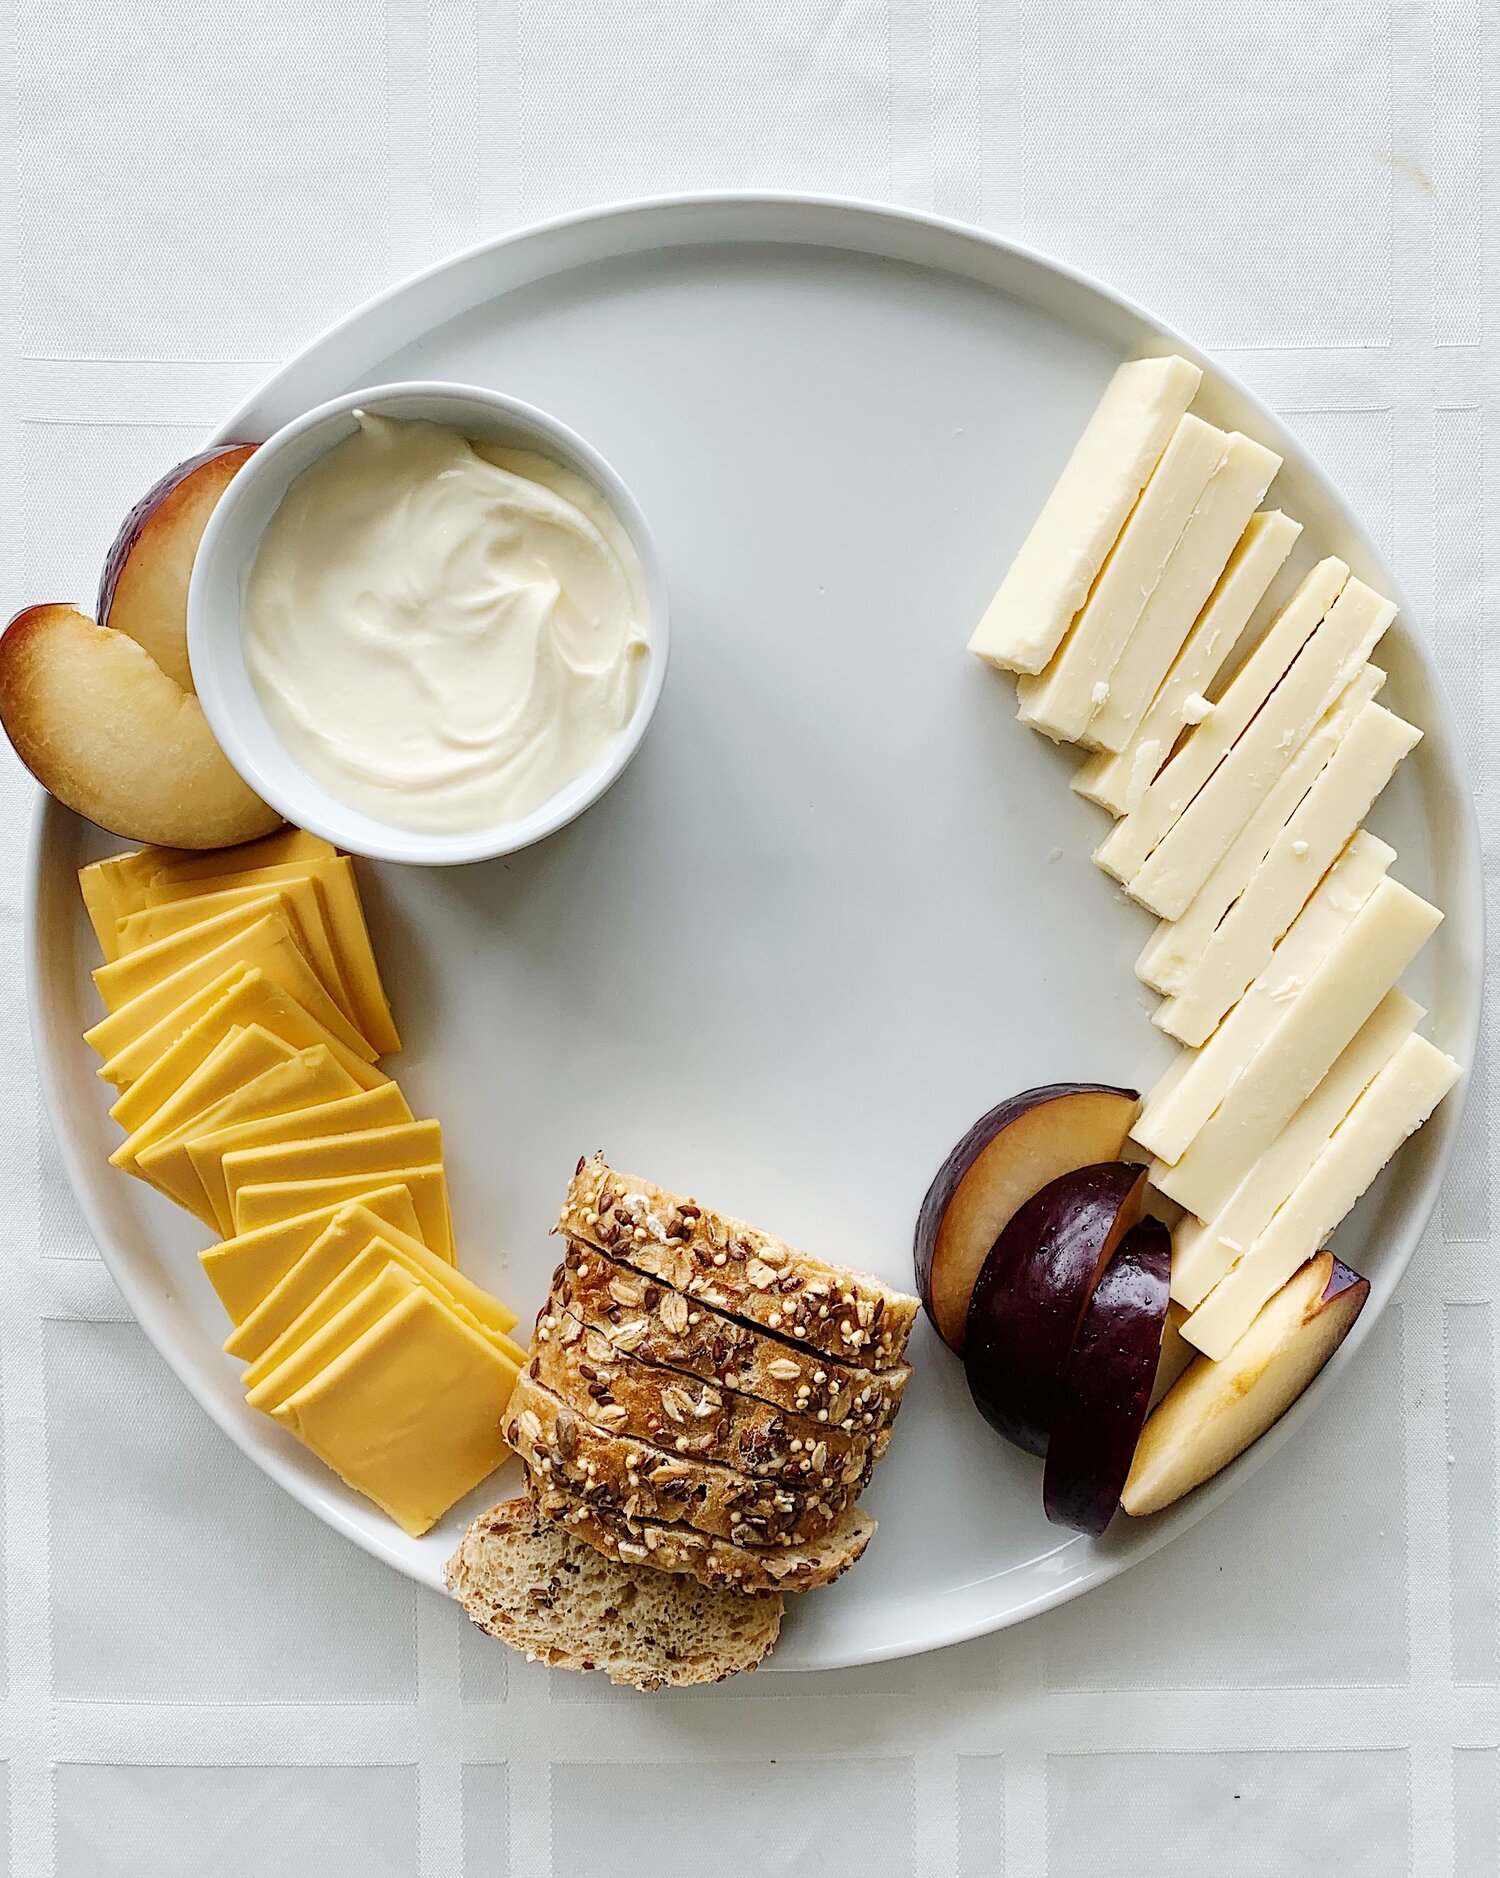
Also in this step, add any small serving bowls you’re going to need for the cheese, or any of your other foods, to make sure you have enough space for them. I generally like to use small white ramekins – as you can see from my board!
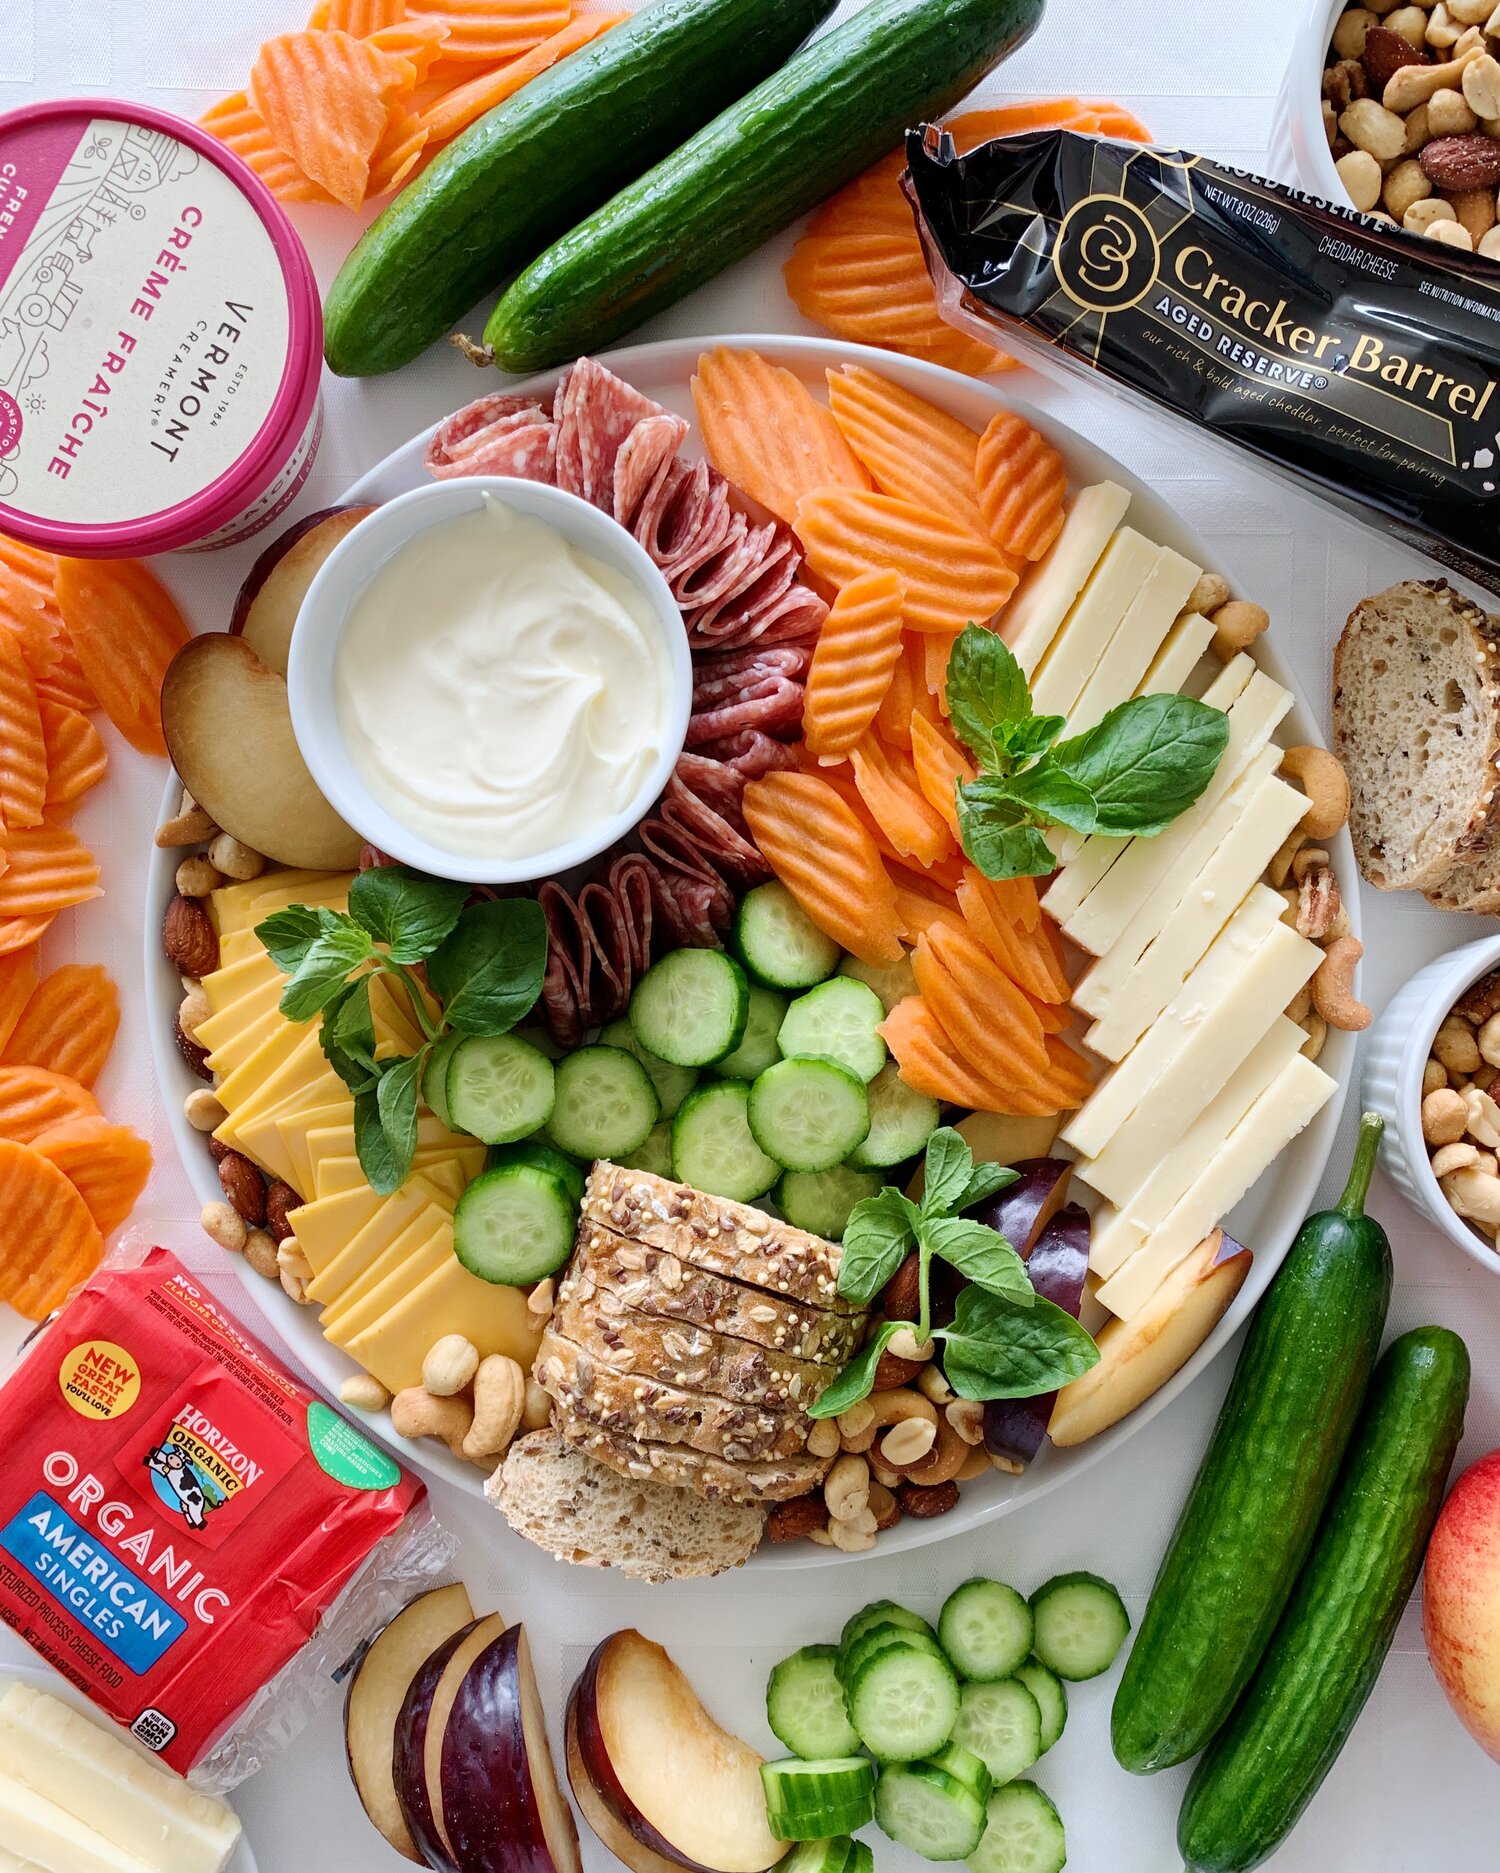
For this cheese board I used real-ingredient, natural cheeses:
-
Vermont Creamery Creme Fraiche – this was my soft, creamy cheese spread
-
Cracker Barrel Aged Reserve Cheddar – this was my hardest cheese, and I cut it into long, thin rectangles
-
Horizon Organics American Singles – this was my semi-hard cheese, which I cut into small squares
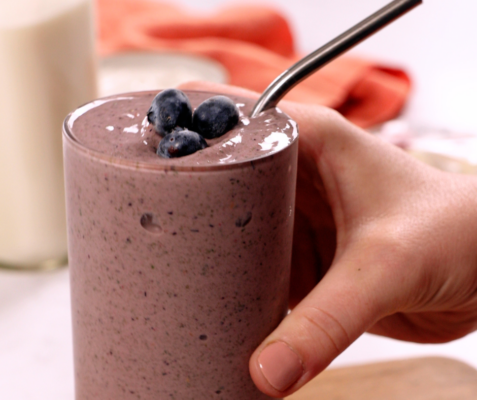
I shop in the dairy aisle for foods of high quality and high nutritional value and protein – milk, eggs, cheese, and yogurt are always in my shopping cart. And! Already-portioned dairy products make my life easier for snacking or grab & go meals. As I’m sure you know from my Instagram Stories, I use products from the dairy aisle pretty much in every part of my day – from cooking, to meal prep, to snacking.
But, I’m sure you know – you can always find dairy- free and plant-based products in the dairy aisle. The options are amazing – each week there seems to be new products for every lifestyle.

Step 3: Add Your Carb
As I’m sure you’ve heard me say before, carbohydrates are found in many of our foods – not just bread and pasta! Carbohydrates for a cheese board can often include:
-
Non-starchy veggies – like carrots, cucumbers, radishes, and bell peppers
-
Starchy carbohydrates – like crackers and breads
-
Fruits – like thinly sliced apples, plums, pears, or berries like strawberries, blackberries, etc.
What I like to think about most here is cleanliness. You don’t want everyone’s hands all over difficult-to-hold pieces of food, since that’s just unsanitary (blueberries would probably be my last choice, haha). Add your carbs in easy-to-grab serving sizes – like bigger crackers or larger slices of apple.
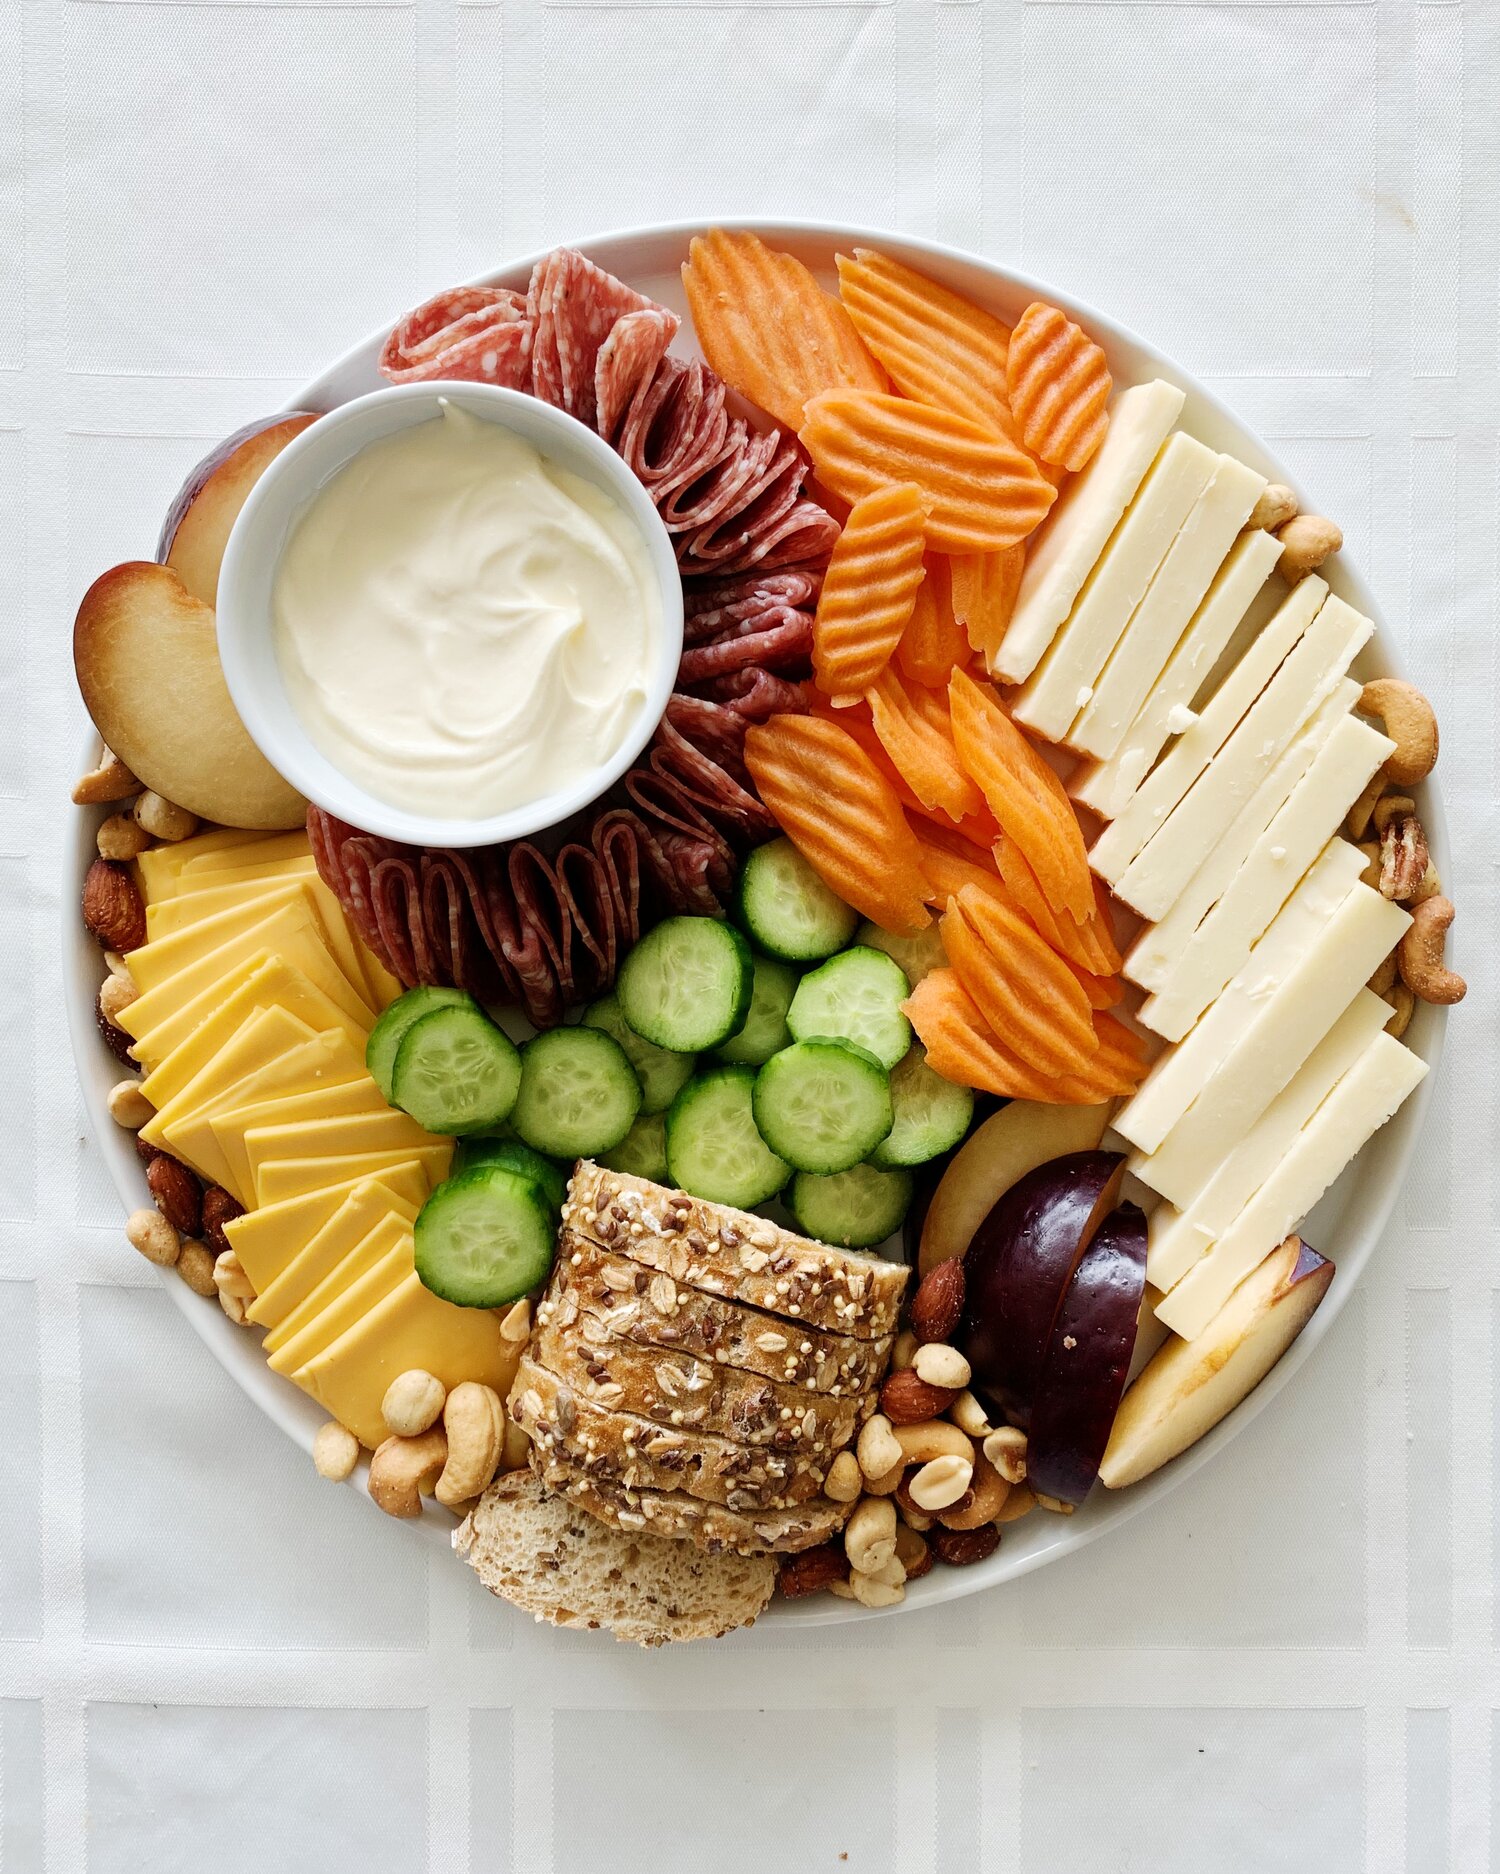
I chose whole wheat roll slices, cucumbers, carrot “chips”, and plums here.
Step 4: Add Your Salty Snacks
These often include nuts, seeds, and meats. I used mixed nuts and salami here – to make your salami prettier, try folding it twice & lining it up along a ridge of your small serving bowl, like I have in the picture.
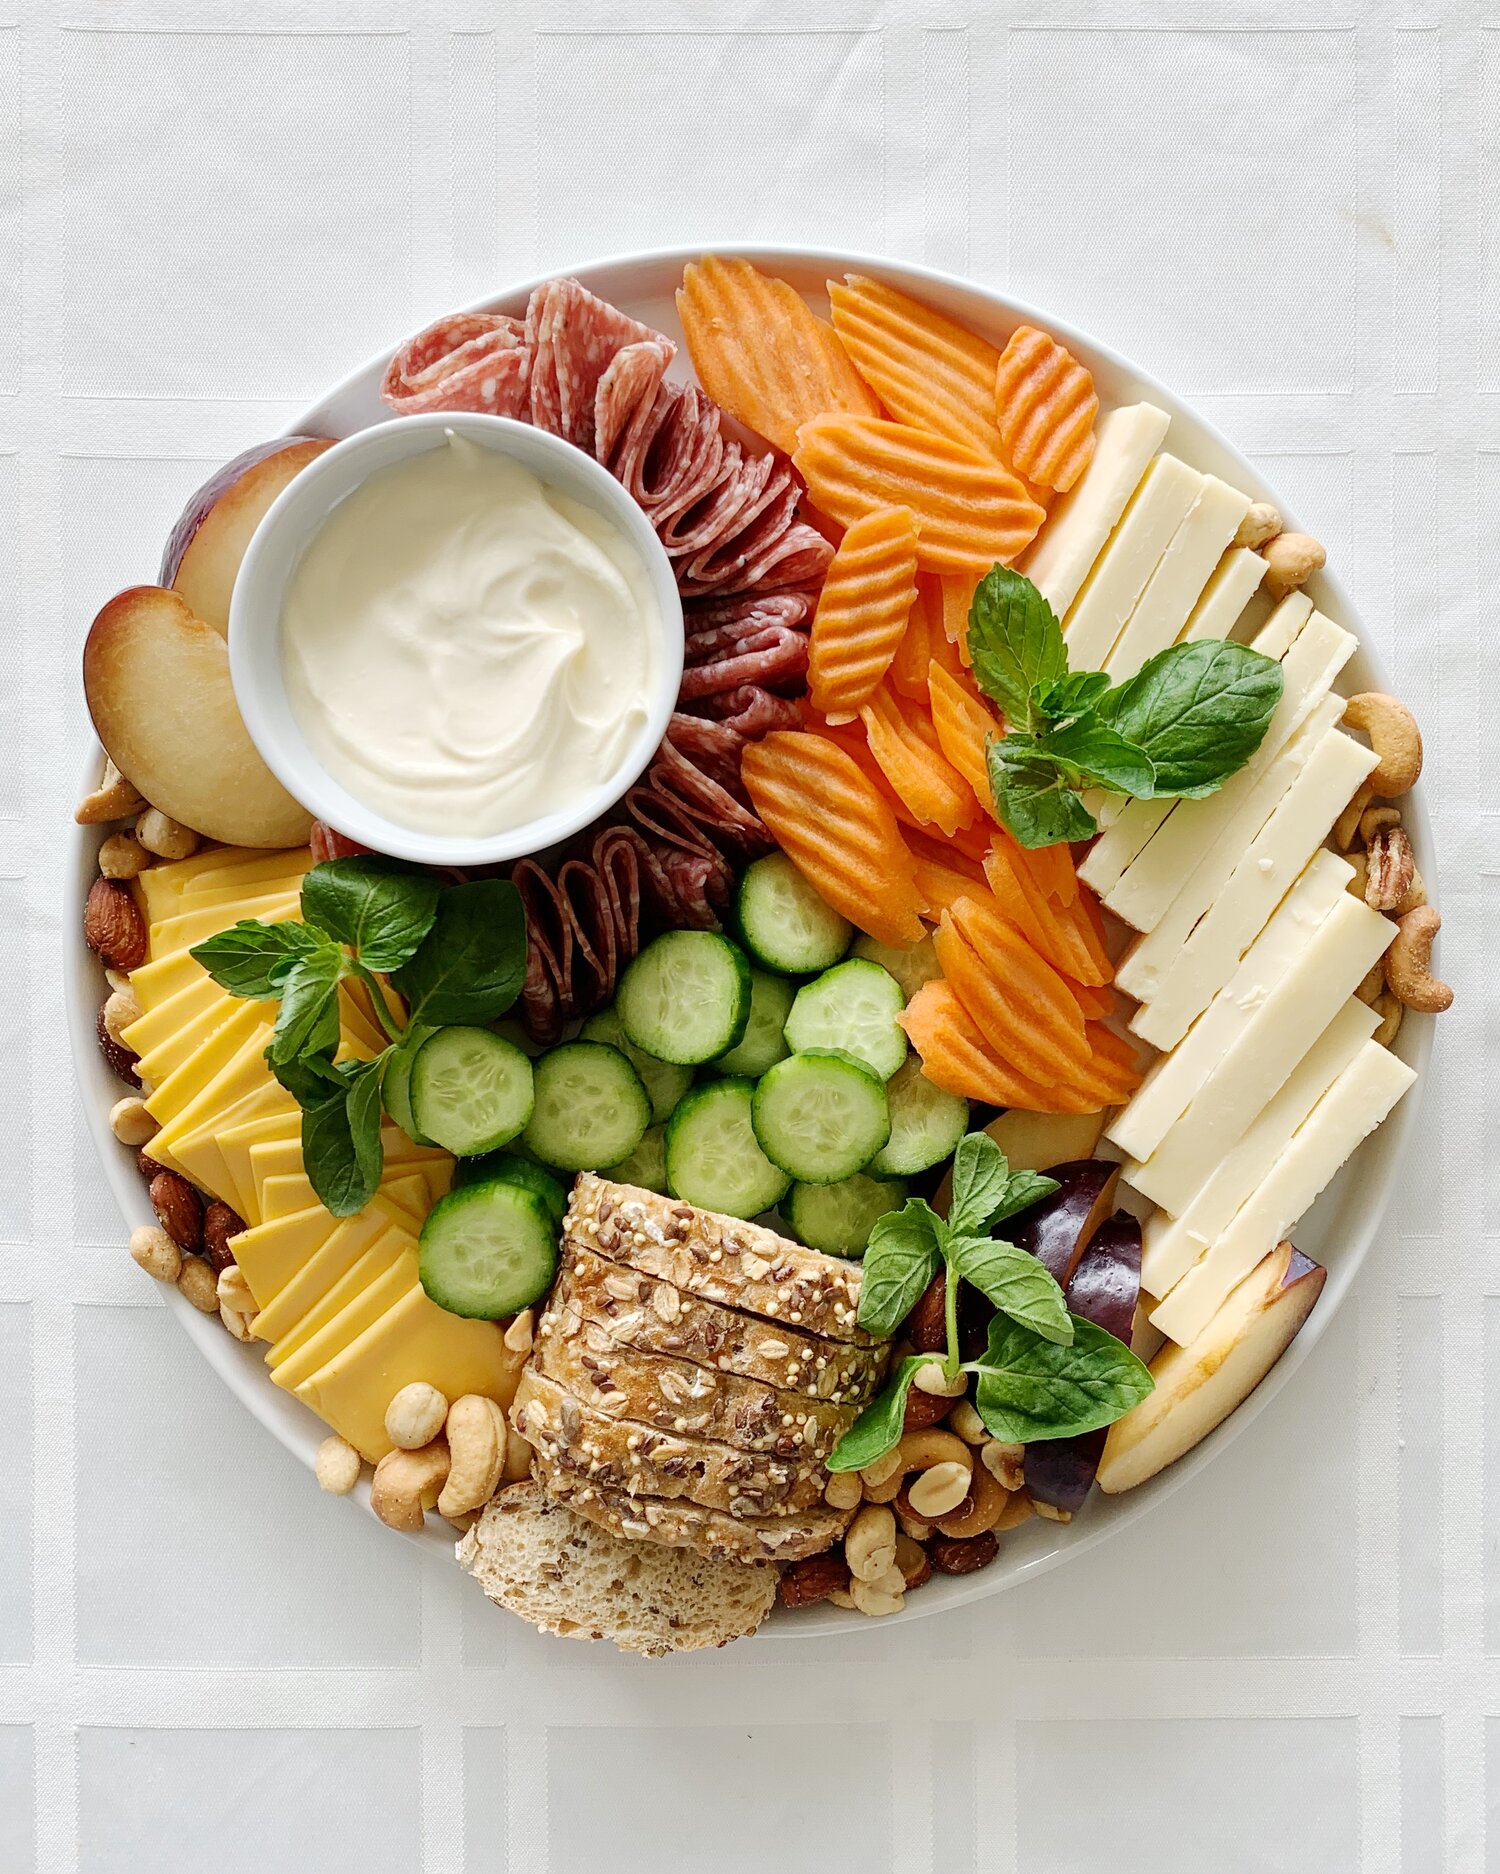
Step 5: Add Your Garnishes
This is totally optional, but if you can, add a little garnish! Garnishes can range from fresh herbs to flowers. I used some mint here.
That’s it!! I can’t WAIT to see what you create – tag me in your Stories on Instagram!
View Recent Recipe Collections
The Dairy Aisle: Fueling Families at Every Stage

How to Host the Best Cookout with (Almost) Zero Prep
Fire Up the Flavor: Frozen and Refrigerated Favorites for Grilling Season
7 Freezer Casseroles for Every Night This Week
Giveaways
June Dairy Month $10,000 Sweepstakes
We’re celebrating June Dairy Month in a BIG way! Enter our $10,000 Sweepstakes from May 25th to June 30th for a chance to win 1 of 18 $500 grocery store gift cards or Grand Prize $1,000 grocery store gift card.